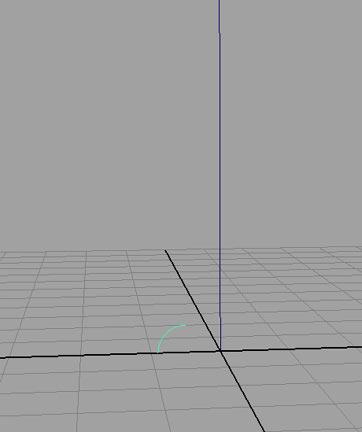
創建一個 nurbs circle, 使用以下的屬性設置 :
translate x : -.5
rotate x : 90
radius : .04
sweep : 90
sections : 3
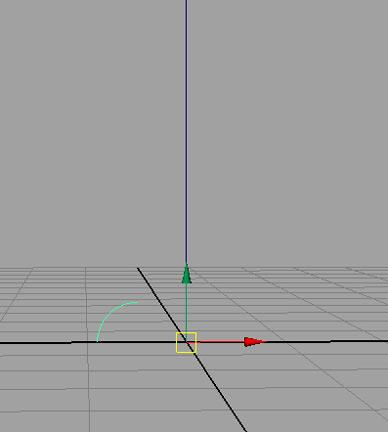
選中這個 circle, 按下 insert 鍵 , 使用網格捕捉將 pivot 放到原點 .
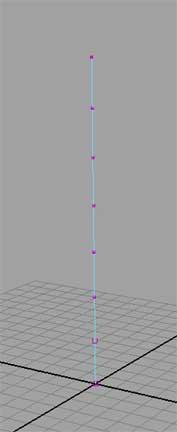
先選擇 nurbs circle 然后選擇曲線 , 在建模菜單下選擇 surfaces > extrude 命令 , 并在 channel box 中設置
如下屬性 .
fixed path : on
use component pivot : on
use profile normal : off
rotation : 5000
scale : 6
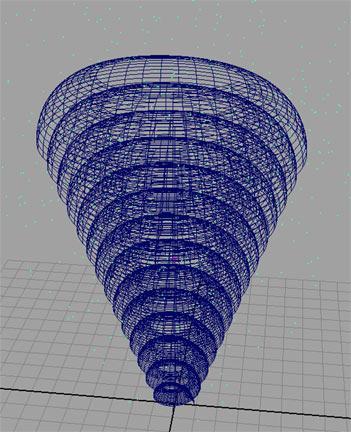
這樣將會出現下圖的形狀 , 你可以通過調整 rotation 和 scale 來調整形狀 .
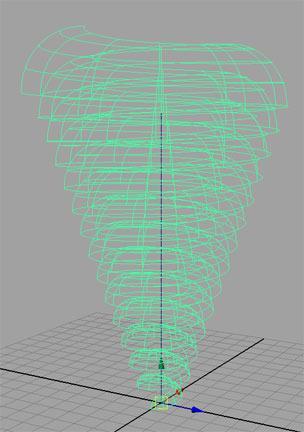
在刪除歷史記錄和曲線后將物體命名為 tornado.
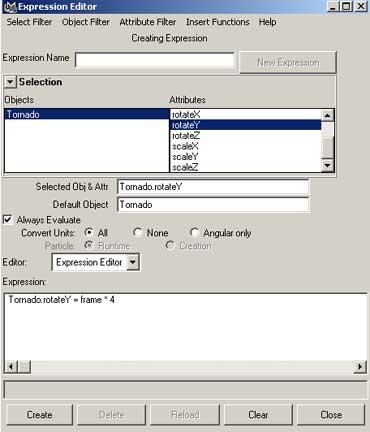
選中 tornado, 在 channel box 中的 rotate y 屬性上點右鍵 , 并在菜單中選擇 expressions. 在 expression editor 的 expression area 輸入 "tornado.rotatey = frame * # " 你可以自行確定 # 的數值 , 數值越大龍卷風的自旋就越快
然后選中 tornado, 并切到 dynamics 菜單下 , 選擇 particles > emit from object > options. 在 option 對話框中 ,emitter type 選擇 surface, 然后創建它 . 當你播放動畫時 , 粒子就會從表面飛散出去了 . 有可能粒子會像內部飛散 . 這樣就需要翻轉表面方向 (modeling menu set - edit nurbs > reverse surface direction).
打開 emitter's attributes 設置以下屬性 .
rate : 1000
speed : 0
現在我們有了更多的粒子 , 并且粒子會圍繞在 tornado 的附近 . 選中這些粒子并在屬性編輯器中設置以下屬
性 .
lifespan mode : random range
lifespan : 2
lifespan random : .25
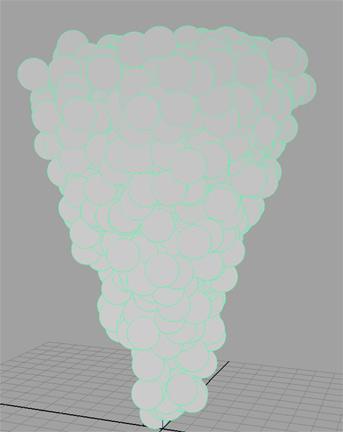
particle render type : cloud (s/w) (click current render type button)
radius: .661
threshold: .661
現在將 tornado 隱藏起來 , 只留下一個自旋的粒子云 . 可以自行調節一些屬性
我們可以使用 lattice 使龍卷風四處移動 . 顯示出 tornado 來 , 并選中它 . 使用 animation menu set - deform > create lattice 命令 .
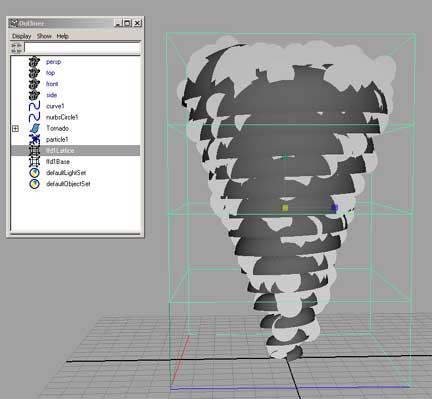
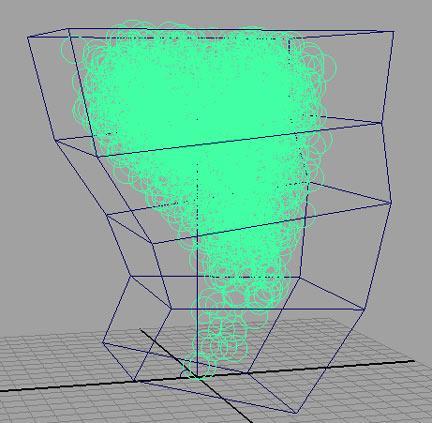
在調整 lattice 之前 , 打開 outline, 選中 lattice 和它創建的 base. 對它們進行放縮以確保 tornado 在 lattice 內部不會溢出 . 現在你可以隨意的對 lattice 設置動畫來使龍卷風移動和變形了 .
新聞熱點


疑難解答